Friday, February 23, 2018

Ferrania's P30 Film - A One Roll Review

I love shooting b&w film.  There are so many choices out there, and the various emulsions, whether old or new are worth exploring if you want to try them (and today, Kodak Alaris announced Tmax P3200 will be reintroduced!).

I was one of the early Film Ferrania Kickstarter backers, and while I do hope they are able to bring their color E-6 film into production, I am far more likely to be shooting b&w film. Last year, Ferrania brought back an old emulsion, which they called P30 Alpha, and touted it as a traditional b&w film with high silver content, with an ISO of 80.  I didn't get any of the earlier rolls, but what I did see online piqued my curiosity.  So this year, when they let backers know that the P30 film was available for $5/roll, I jumped and purchased five, which arrived quite quickly.  Even with the $8 shipping, I think it is a bargain for five 36-exposure rolls.

I brought one roll in my bag when I went to Toronto a few weeks ago, and shot it with my Minolta XG-M, one of my favorite and most reliable Minolta SLRs.  Most of it was shot while I was in the Distillery District with Bill Smith and Nancy Bueler -- my Toronto photo friends that took their time to show me around town. 

After I returned home, it was the first roll I developed, as I was curious to see if the hype about this film was valid.  I shot the film at ISO 80, and developed it in D-76 straight, for 7 minutes, as directed in the instructions.  As soon as I took the film off the reel and hung it to dry, I was pleased with what I was seeing.   It had been a snowy overcast day, and there was a lot of contrast in the scenes.  I scanned in the negatives on my Epson V700 scanner at 2400 dpi, and my initial response is WOW! I think this film has great tonal response, great mid-tones, very fine grain, and I am very pleased with the results.  I have yet to make traditional prints from the negatives, but the scans needed very little tweaking.   The film lies flat in the negative holder without any cupping like we see in Kodak's Tri-X. 

Here are some sample images from the roll.  I was not disappointed in any of them.  I am blown away when I look at the detail in the first image.  The Ferrania P30 film is a keeper, and I hope that they keep producing it. 


Monday, February 19, 2018

The Halina 35 - Plastic Fantastic

Over the past 18 years, I have used my share of "toy cameras."   Usually, I expect the results to be typical for cameras deserving of that classification.   A few months ago, I was given a Halina 35 camera.  If you do any searches, you'll see all sorts of Halina-branded cameras, most of which were manufactured in Hong Kong by Haking Co.  I have previously owned a Halina TLR, which was similar to one of the Ricohflex models. It was charming, but not exactly in the league with a Ricohflex.  The Halina 35 appeared in the early 1980s as a premium camera, often under other names, and with slight cosmetic changes.  Don't confuse this with the metal-bodied Halina 35mm cameras.  The model that I have is typical of a simple "optical lens" premium camera with few controls.  It looks better than it ought to, and I figured that I would test it with a roll of Kodak Vision 100T film from the Film Photography Podcast.   The shutter speed is about 1/100th sec, and with aperture control for sunny to cloudy and flash, I figured that would work out okay.  I shot the roll back in late summer-early fall, and it wasn't until last week that I finally processed the film at home with a home-brew ECN-2 kit that I got from August Kelm. 

The Halina 35 is a simple camera, and I certainly expected my images to look like something from a Time  camera -- soft, and lacking in contrast.  However, after looking at the scans from the negatives, I am fairly impressed with the results.  I did have a few frames with double exposures, and I am not sure if it was my fault or the camera.  I'll try a roll of b&w and see if the problem is with the camera.

Here are some of the best images from the camera that I shot on the Kodak Vision 100T film.
double-exposure

light-pole flyers

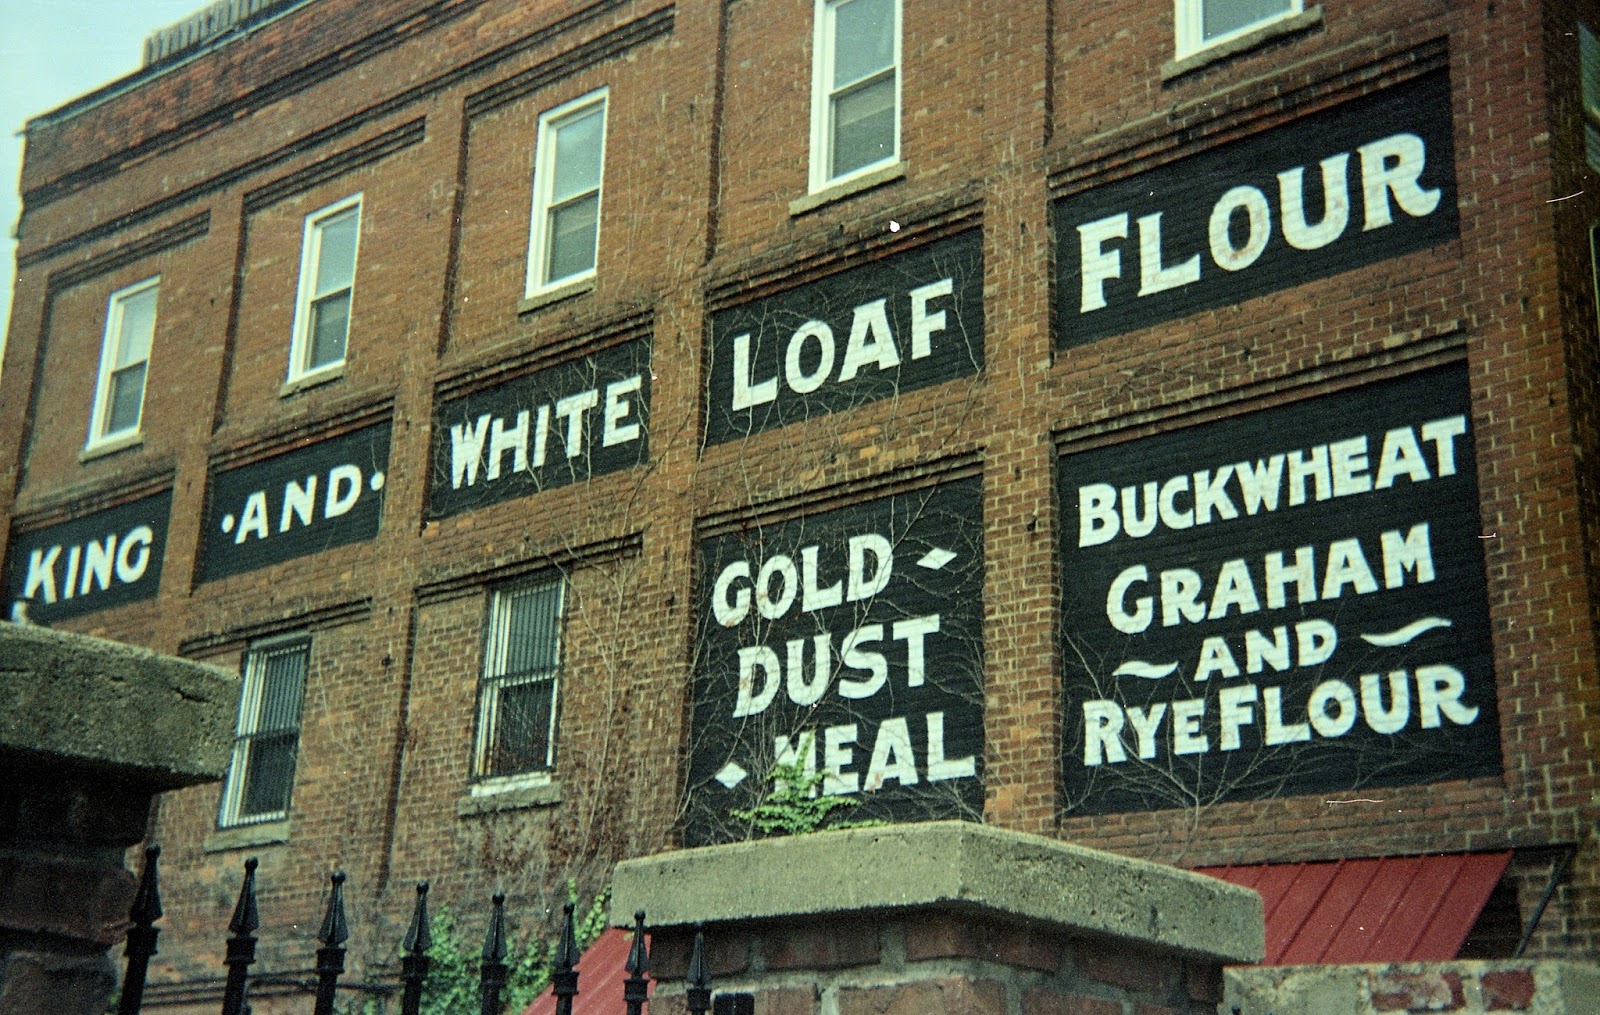
bricks with words

new hotel downtown

old Muskegon train station

old Muskegon train station

farm stuff

Not too bad for a "crappy camera."


Tuesday, February 13, 2018

On The Road, and In The Bag

Some film to develop!
Now that I am retired, it seems that I have been traveling more often, and while they are short trips, they have been by car, which means that I can pack whatever I want.  It used to be that I would pack many cameras, and then decide which ones to use while I was on the road.  No more of that.  It's easy to over-pack camera gear. I made the mistake in 2003 of having way too many cameras on a trip to New Mexico.   It's one thing to bring some equipment that I didn't use because the conditions were wrong, such as a Lomo Sprocket Rocket and overcast rainy days.  So, what I am doing now is deciding in advance what my goals are and assembling gear around that.

Last week I went to Toronto for 3 nights, and had arranged to meet up with Bill Smith and Nancy Beuler, both locals that are doing film photography, and who I have been friends with on FB and Flickr.  Of course, it's winter, so I was not going to be bringing any cameras that are fiddly to use. I decided to make it a Minolta event, and brought a Maxxum 5 (lightweight and AF), and a Minolta XG-M (aperture-priority manual), and a Minolta Hi-Matic G (point and shoot).  I brought a Maxxum QTsi as a backup, and a Yashica A TLR.  I also brought a tiny Canon Powershot SD1400, because nothing like having a tiny digi on hand anyway.

It turns out that we had snowy and cold conditions on the first day, and cold and sunny on the second day.  We took street cars, walked a lot, and also took the subway.  I wasn't agonizing over which cameras to use, and while the Yashica A only took 3 photos, I am glad that I brought it.  I had a lot of fun, and while the conditions were not always the best, I think I came away with some good photographs.  I'll post them after I develop the film. Toronto is a very accessible city, and has great public transportation.  The streetcars are an efficient way to get about town, as is the very nice subway.  I know that I'll return when it is warmer, as there are many places to see and night photography awaits.

I am going to Pittsburgh next weekend, and I am bringing just one camera bag with my Nikon F3HP and a couple of lenses, and my Olympus Trip35.  They are  well-tested cameras that I can depend on to give me great results.  At the last minute I may throw in a Holga.

Onward!


Tuesday, January 30, 2018

How to cook your film

I know that it is the end of what seems to be the longest month of the year...January. It seems like January has 40 days, doesn't it?   The calendar assures that it is only 31, but I swear there is an extra week hidden in there.  Perhaps it is because we are so damn busy in December with holidays, parties, birthdays, etc. that January seems so long.  In any case, it's also one of those months that I find myself catching up with things that got put on the back burner, like developing film.  I have been working through developing and scanning a lot of rolls of C-41 film that I shot in the second half of 2017.  One new thing that has made my work go so much easier has been one of those immersion heaters for Sous Vide cooking.  I had seen them being used for C-41 and E-6 processing as heaters for water baths to bring the chems up to the proper temperature, and keep it there.  So, I ordered one online from Amazon for $68.00. It's a Sous Vide Immersion Stick Pod by Primo Eats, and it's an amazing device. Although designed for slow-cooking food, it makes a perfect water heater with thermostat control and a rotor that circulates the water.  The temperature range is 5-100° C, so having the water bath at 38.5°C is not a problem.  In fact, I could set it for 20°C for b&w processing, too.  This has saved me a lot of water -- I had been using hot water from the tap to heat up the chemistry; and has saved me lots of time, as well.  I can set everything up in the water bath, turn on the stick pod, and go off and do other things until the chemistry is up to the right temp.  The device heats up the water quite quickly, but of course, the chemistry in the bottles also has to be heated by the water circulating around them.  Once it's at the proper temperature, you can be sure that it will stay there while it is in the water bath. This will give you more control over your processing, for sure.
Set the temp and let it heat up.


I label my tanks with numbers that correspond to how
many rolls I have processed in a batch of chemistry. I usually
stop at 20 rolls.

So far, so good.  The film has come out great, and I no longer worry about whether the temperature has changed. I also put the developing tank in the water bath in between rotations, just to make sure it is staying where it should be.

And here are a few shots from my Pentax K1000 and Lomo 400 color film, from last May-June.


Saturday, January 27, 2018

A Marquette Trip... Trip 35, that is.

You can tell that I really enjoy using my Olympus Trip 35, since I have blogged about it so many times.   The camera, for all its simplicity of use, never fails to produce images that I like.  It remains one of my favorite cameras, and is perfect for quick shots when you want very little between you and the subject.  So long as you have your zone focus set, the camera does the rest.  After shooting many rolls of film with it, I think ISO 200 film works out the best in most situations.   Eastman 5222 for b&w, and lately, Kodak Profoto 200 color film.

Last week I finally got down to working on my backlog of C-41 rolls.  Some of them dated from the middle of 2017.  My Unicolor C-41 kit from the Film Photography project store had been freshly prepared, and my new Sous Vide stick pod immersion heater (I will feature this in my next post) kept all the temps at precisely 102 degrees F, making development go much more smoothly with less use of water.  One of the rolls was from my trip to Marquette, MI in late June of 2017, shot with my Trip 35.  I had forgotten about taking that camera, and the delayed joy of seeing the images was a real treat.
Downtown Marquette is a great place to shop

Walking around with the Trip 35 on a hot sunny day in Marquette was a perfect combination.  The camera handled the situations well, of course aided by the great latitude of the film. The one thing about the Trip 35 is that it has two shutter speeds - 1/30th and 1/200th sec.  So long as you don't get too far out of the camera's "comfort zone" you will have great results. I see the Trip 35 as one of those cameras that become a trusted tool the more you use it.

Look carefully.  Marquette in the distance, and my daughter rock-hunting on the
beach in the foreground.

Marquette's classic Post Office

Alley Cat

I often find the backsides of buildings far more interesting.

Peeking through the alley

A lot of sandstone was used in building 

Art in a public space

Just a beauty of a day

Getzs is the place to shop if you want to blow your budget

More backsides

More backsides

unexpected giraffe

A visit here is a great way to relax and have a good brew.
The film was developed at home in my Unicolor C-41 kit, and the film scanned in my Epson V700 scanner.  Minor adjustments were made in the images.