

Then, I ran 35mm in a normal Holga using a special back and mask (reviewed here). It was basically a 24 x 58mm negative, and required one to open the camera in the dark to rewind the film into the cassette. Workable, but not the best solution. In the beginning of 2012, I saw an announcement somewhere for the new Holga 135 Pan camera, which takes standard 35mm film, and gives you a 24 x 72mm negative. I finally purchased one from Holga Direct in Hong Kong, and with shipping, I paid about $100. The camera arrived about 2 weeks after I placed my order, and last Saturday, I finally took the camera out to give it a test.

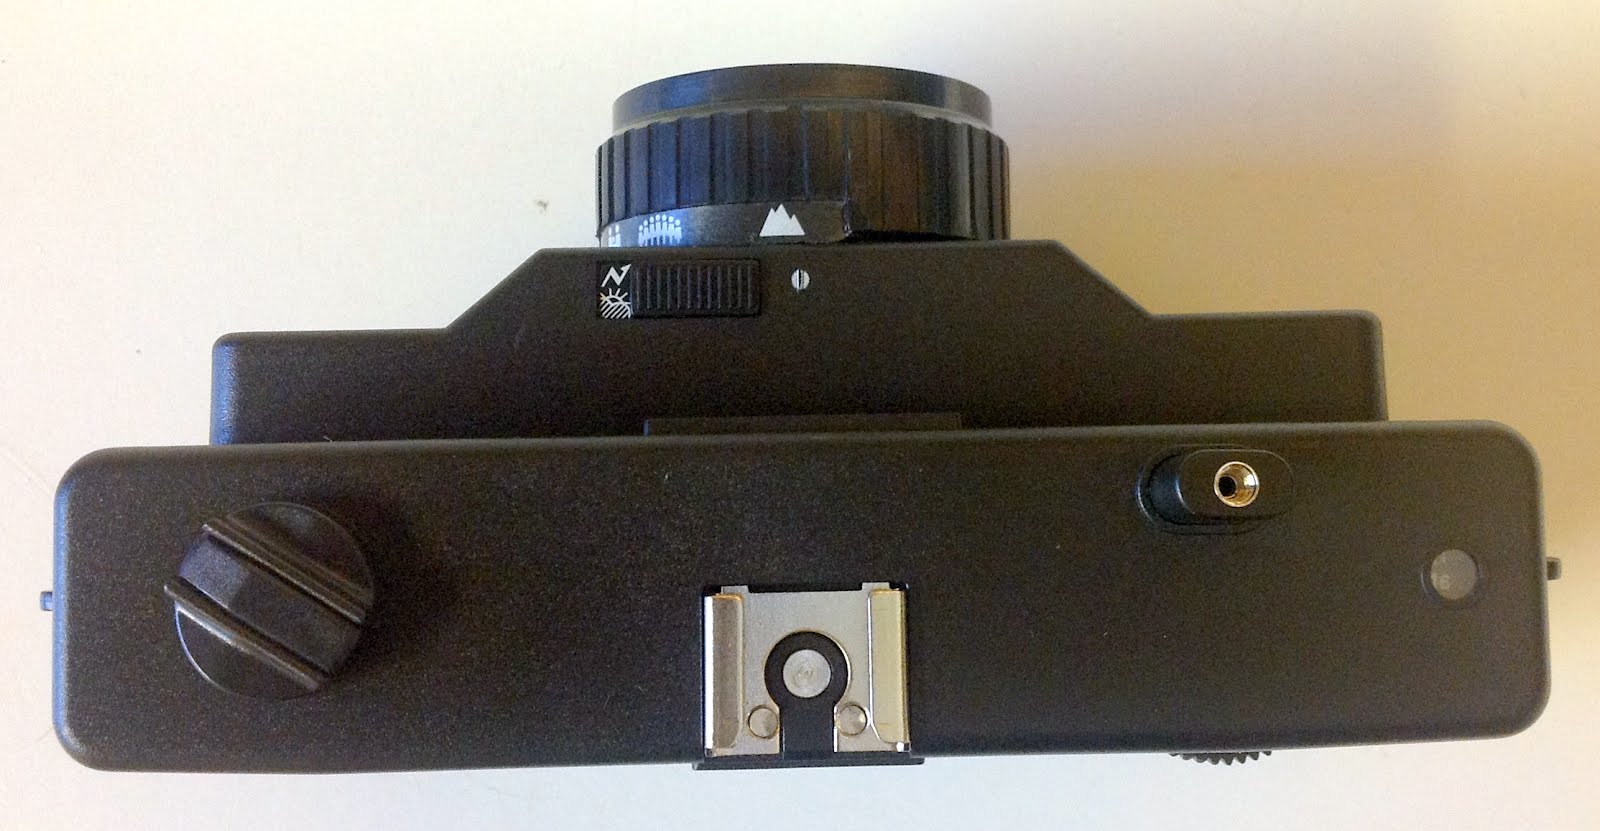
The features of the Holga 135Pan:
The camera comes with 2 lenses - a 55mm f/8 lens, and a pinhole lens with a f/236 aperture. The fact that one can remove the lenses tells me that people will be experimenting with this, which ought to be fun. I would not be surprised to see a wide-angle lens produced. The lenses have the typical Holga zone-focus icons. There is also a hot-shoe for flash, a wide-angle viewfinder that approximates the FOV of the lens. The shutter button has a socket for a standard threaded cable release. The toothed film advance is easy to use, and there is a film counter. You can shoot double exposures, so be sure to advance the film after each shot, unless you WANT multiple exposures. The shutter speed is approximately 1/100 sec. There is also Bulb mode for long exposures.


The instructions say to use 400 ISO film. Given the shutter speed, I think one could safely shoot ISO 100 or 200 on a nice bright sunny day. I used a roll of Kentmere 400 b&w film for my test roll. Since this is a panoramic camera, it is probably a good idea to use it on a tripod and make sure the camera is level. However, it IS a Holga, so I imagine people will want to shoot it all sorts of ways. If you use the pinhole lens (which I have not yet tried out), you will definitely want to use a tripod and cable release. The back of the camera has suggested pinhole exposure times, using ISO 400 film. That's a handy feature.
My First Impressions:
The Holga 135Pan isn't a Hasselblad X-Pan, nor did I expect it to be. It's a Holga, so you should expect lens aberration, flare, soft-focus, and vignetting with the 55mm lens. The camera is as simple to use as the Holga 135BC, or any other simple camera. I think it's actually pretty well made -- certainly sturdy enough for typical use. Once I got used to the feel of the camera, I found it to be smooth in operation. However -- make sure that you don't have the shutter set to "B" when you want the normal shutter speed, and remember to check your focus ring. The B setting is easy to do if you are not careful. Now that I have shot and processed one roll, I am pleased with the results thus so far. Shooting a panoramic image doesn't work for every subject or situation, but I expect that once anyone shoots a few rolls with this camera, that will become clear.
First, my sheet of negatives...

However, I have to say, that for a trial run on a cloudy and misty day, the results were not bad for a Holga. I scanned the negatives in on my Epson flat-bed scanner at 2400 dpi.


I am especially pleased with these two images. Getting the framing exact will take some time as I get used to the camera. Getting some pinhole photographs will be the next step. The beauty of this camera is that you can shoot pinhole or normal, just by changing the lens, which merely screws on. I imagine the price might turn off a few people, but seriously, who else is currently making a camera like this? It's a small market, and kudos to the Holga folks for producing the Holga 135Pan.
ADDITIONS From April 7...
Looking down the St. Clair River in Port Huron, film is Fuji Superia 200.

You can also go Vertical with a panorama... This is a Marshall Fredericks sculpture in Port Huron.


