Showing posts with label light meter. Show all posts

Friday, January 07, 2022

The Cooldark V102 Light Meter - The tiniest of them all?

Back in September of 2021, I received a package from Cameractive, an online store based in China.  In it, were two light meters for me to test and review.  The first one, the Doomo-D was reviewed several months ago here on RCB.  The second meter, a much smaller unit, the Cooldark V102 light meter, took me some time to get around to testing it. 
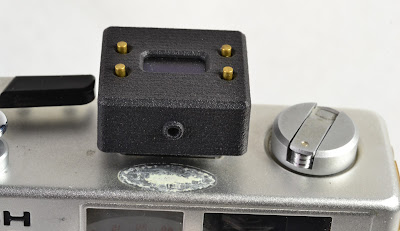

Cooldark V102 light meter mounted in the hot-shoe


If you do any searching for shoe-mount light meters, you’ll come up with quite a few new meters that have only recently been available.  I have already reviewed the DOOMO-D which features analog dials to get a reading, much like the Voigtlander VC II.  A different class of light meters, which seems to have originated with the Raveni Labs light meter, utilize a small OLED screen with the controls being several buttons on the top, with a front-facing sensor.  When I say tiny,  they are barely larger than the flash shoe they mount to.  A good review of a series of  shoe-mount light meters is on 35mmc

My primary concern over the Raveni Labs meter was the fiddly nature of the controls, and of course, their size, and the price.  It’s bad enough that I have a problem with texting.   Second, was my fear that the display would be hard to read in full sun. So, I put off buying one when they first appeared.  When the Cooldark 102 meter arrived to review, I was soon away for a long trip to the Southwest, and didn't test it right away. Finally, in Nov./Dec. 2021 I had the time to test the meter and give it a whirl.

The Cooldark V102 Light Meter

I wasn’t familiar with the name, but I was intrigued by the small size.  It’s barely over an inch wide, and what’s immediately apparent is a small USB port on the left side.  This meter has a rechargeable battery that is charged via the USB-C port.  Great idea!  The manufacturer claims 20 hrs of continuous use on one charge.  Since I only need it on for a few seconds at a time, that’s going to work fine for me.

There is no instruction manual with the meter, but if you point your smartphone at the QR code on the package, it takes you to an online manual, which I printed out.  The page at Cameractive also has a diagram that shows the controls – which are pretty easy to figure out.  


Specifications:

    • Metering Angle: 30 degrees

    • Aperture Range: F1-F64

    • ISO: 6-6400

    • Shutter Speed: 8s -1/2000s

    • Dimension: 27mm x 30mm x 13mm

    • Battery Capacity:120mAh

    • Battery Life: 20hrs non-stop

    • Weight: 12 grams


Of course, it weighs next to nothing!  After I charged it up – I pressed the metering button (lower L) and the display sprang to life.  Setting the ISO, mode, etc., are accomplished by pressing the upper L button and the right side buttons adjust the settings.  Pretty simple.  The small metal buttons are easy to operate for me.  The meter has aperture and shutter priority modes, which is really all you need.  When it’s in Aperture Priority, the arrow is on the aperture setting, and if in Shutter Priority, the arrow is on the selected shutter speed.  It’s reflective metering, which is pretty much what we do most of the time.  This tiny meter also is priced right - $45, not including shipping.  


I mounted the meter on my Ricoh 35 ZF, and was very pleased with the display being easy to read in most conditions – in really bright sun, I needed to shade the screen to read it.  The readings were consistent with my iPhone metering app, as well as with my Nikon FE2 that I was using.  I was originally concerned about the placement of the screen on the top and not the rear, but in use, it was perfectly fine.


For a small camera, the Cooldark 102 meter is really perfect, as it doesn’t get in the way of anything. The only downside to such a small meter is that it could easily be lost – but as long as I keep it on a hot shoe, it’s not going to fall off.  I think it's a great choice to mount on a camera such as an Argus C3 or C4, Kodak Retina, and all those old fully manual cameras that have either a cold-shoe or hot-shoe and either a non-working meter or no meter at all.  At the current price, you may want to buy a couple of them.  Thanks to Zhang at Cameractive for sending this delightful little meter!


Wednesday, September 29, 2021

DOOMO D light meter review

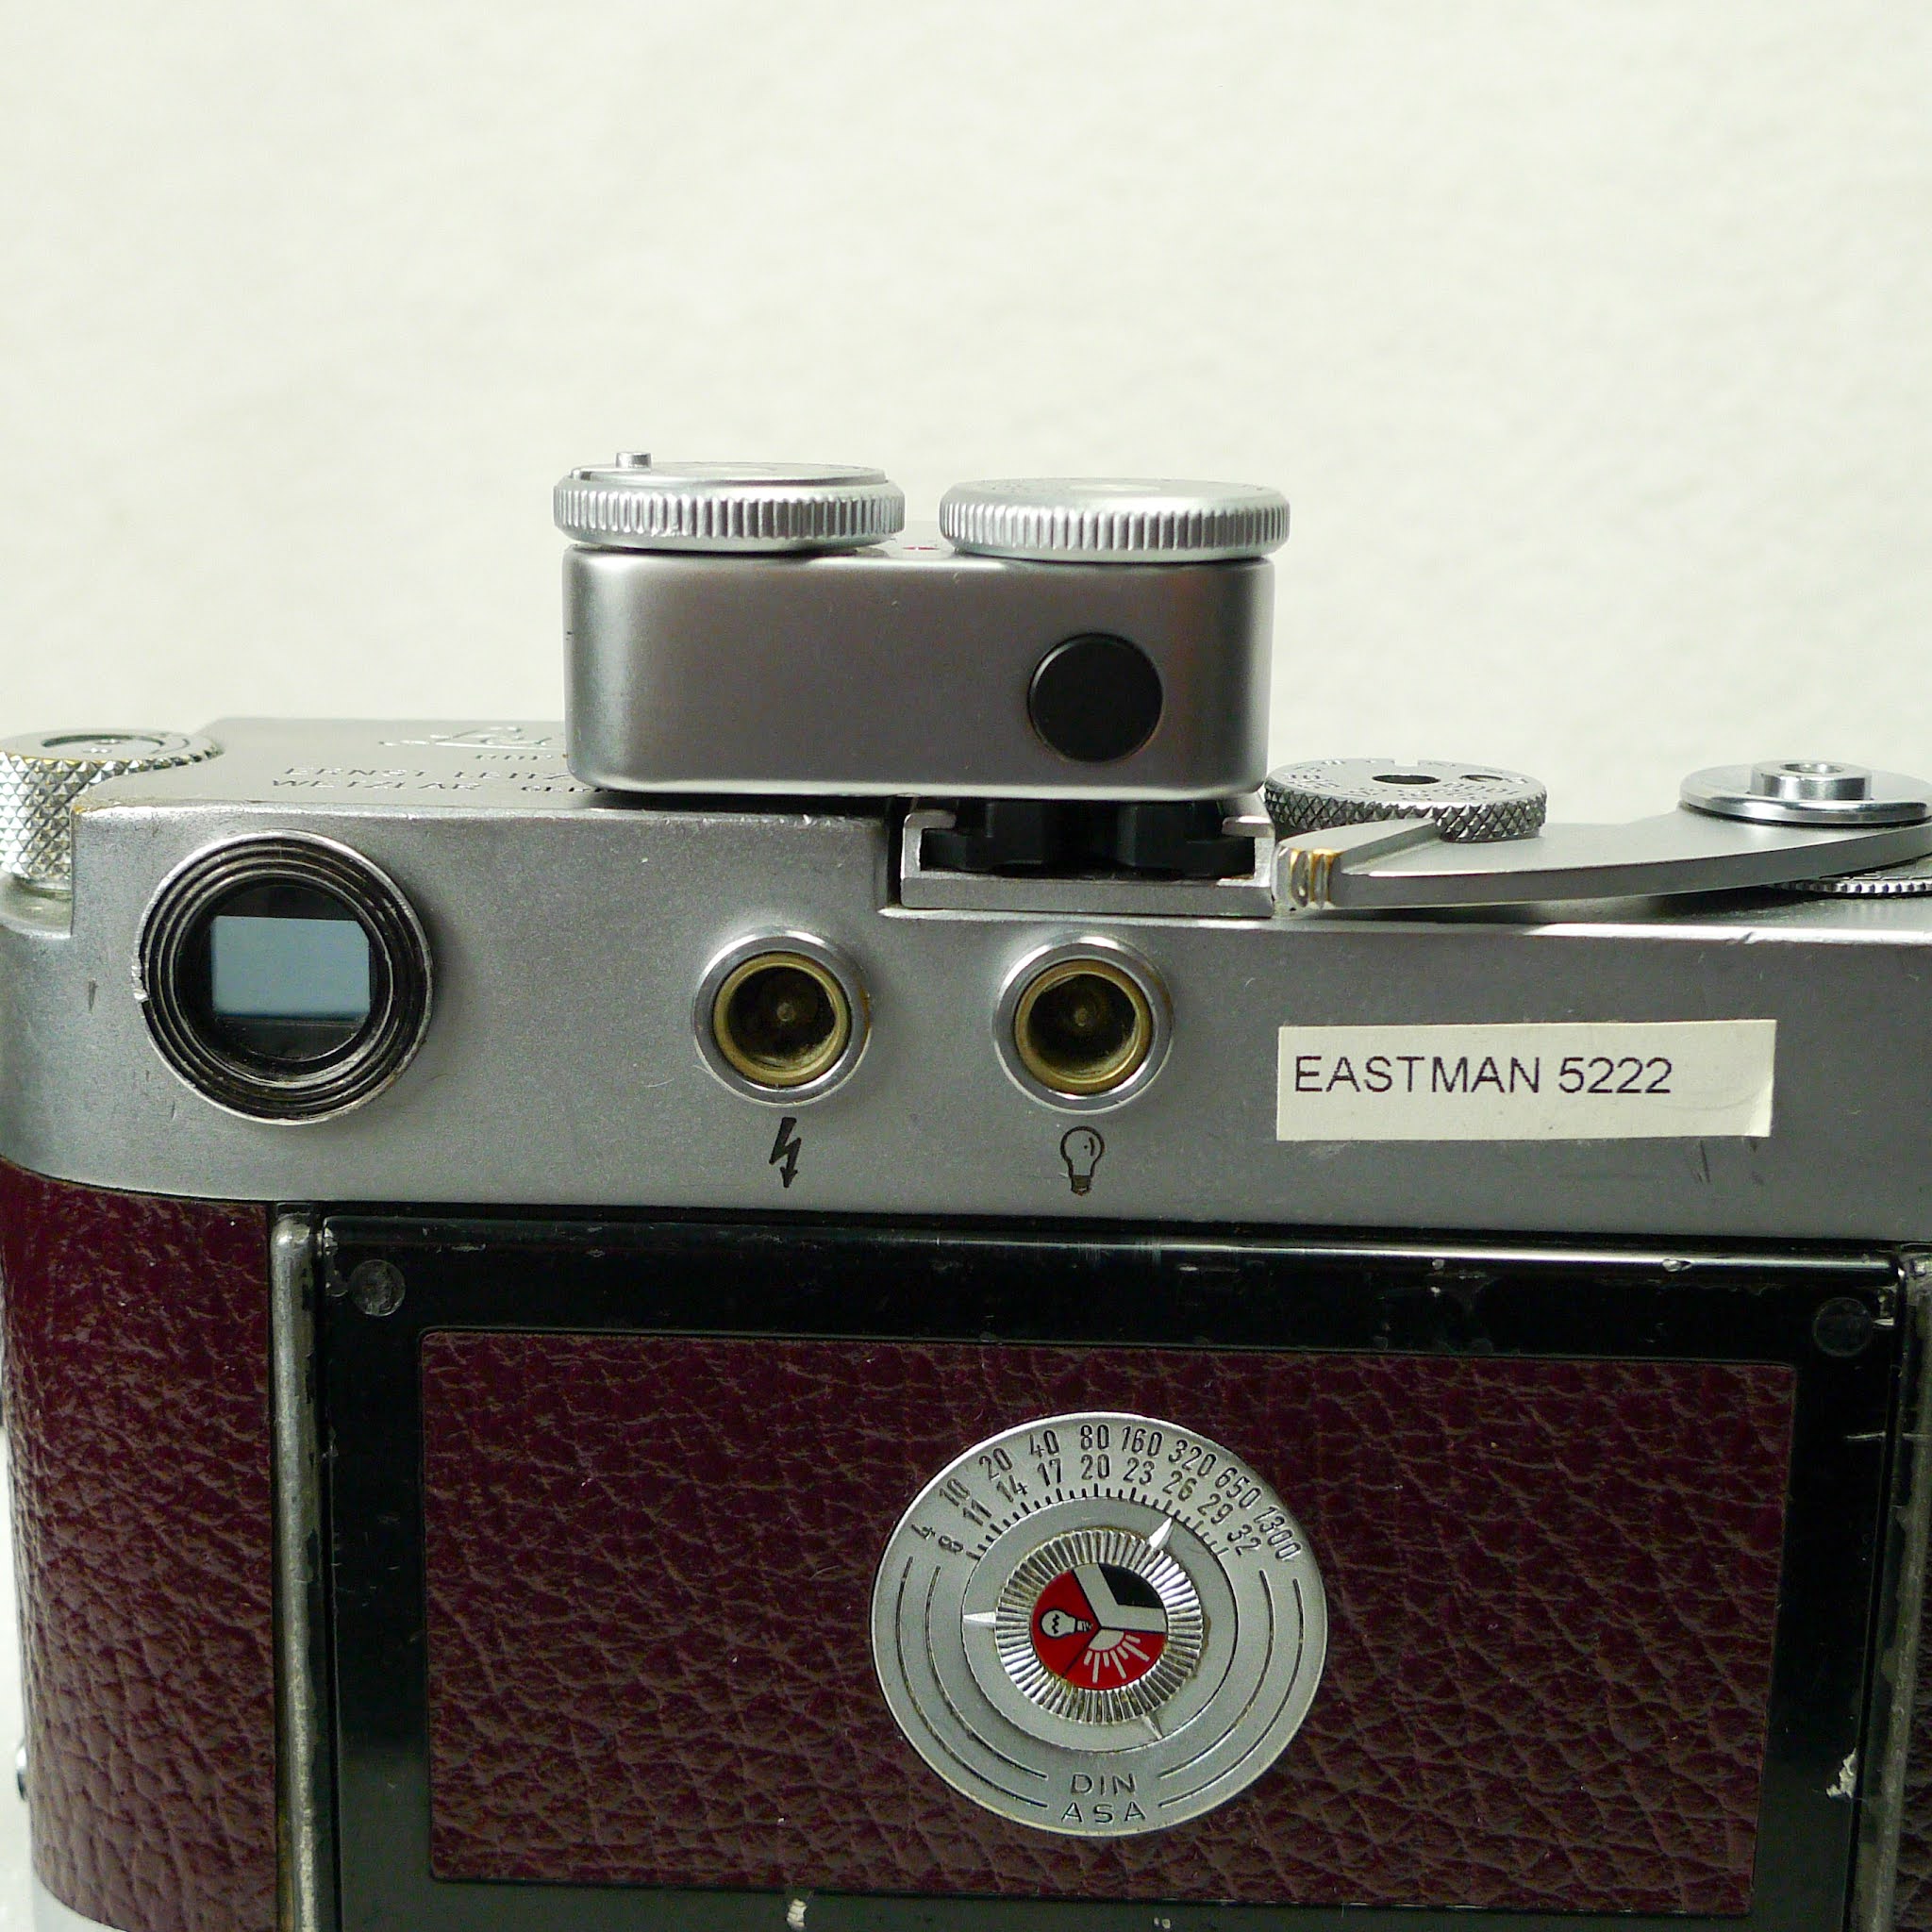
The DOOMO D meter matches the lines and finish of a Leica M2

Lately, we have all seen a number of extremely-compact shoe-mountable light meters such as the one from Raveni Labs, and the KEKS EM01.  These little wonders use a small OLED screen to provide the exposure information, with tiny buttons to change settings, etc.  My biggest problem with these ultra-tiny meters is that the screens are sometimes difficult to read, and that they are small enough to well,... lose.  I have been using handheld meters such as the Gossen Pilot Selenium meters (which work quite well) and the Sekonic L-208 Twin-Mate, a modern, still-in-production light meter.  I originally wanted a Voigtlander VC Speed Meter II, but with a price at over $200, it was more than I wanted to pay.

DOOMO D meter

Now, I think I have found a favorite light meter for my Leica M2. It's the DOOMO Meter D, which at first glance looks a lot like the Voigtlander VC II.  First of all, it has exactly the layout I wanted - an analog dial approach, just as you would find on a camera, with +/- red LEDs and a green one for the "correct" exposure.  It sits in the accessory shoe on the Leica perfectly, and looks like it's part of the camera.  The dials are easy to move, and the LEDS are easy to see in bright light.  On top of that, it has a metal case that looks robust and well-finished, and a perfect match for any classic camera.  However, looks are not everything. It also has to work well, be easy to use, and I need to have confidence in its accuracy.  The DOOMO D meter does all those things. 


Upon receipt of the DOOMO D meter  from Cameractive (direct from China), I was pleased to see it well-packaged in a black box.  Now, I am a pretty experienced photographer and familiar with all sorts of gadgets. The only information in the box is a small card that has brief instructions on inserting a battery (CR-1632 coin cell that is not included) and QR codes to take you to the online manual. I had no trouble figuring the rest out without looking online. The package also includes two shoe mounts, screws, a small black stick-on circle, and a small screwdriver.  My only quibble is that while the slotted head screwdriver fits the Phillips-head screws, it should be replaced by an actual Phillips head screwdriver.  However, if you need to use the manual, the online manual has all you need. If you have used a camera with built-in light meter such as a Nikon FM, then the controls don't need much explanation.  You set your film's ISO on the left wheel, - which ranges from 25-6400, and that wheel also has your aperture settings (f/1- f/22), while the right wheel has the shutter speeds (1 sec - 1/2000).  If like me, you are an aperture priority person, I set my aperture and move the shutter speed dial until it the LED shows green, or +/- 1 stop, and then I set my shutter speed on the camera to match.  Now the funny thing is -- it's entirely possible to forget that you have to adjust the camera settings to match what the DOOMO light meter is at.  I had a brain fart like that a couple of times, forgetting to transfer the meter settings to the camera. That's not a meter problem, it's a human problem!


You can attach the shoe connector to either the right side or the center, and the screws hold it firmly in place to the body of the meter. For my Leica M2, the meter needs to hang to the left of the shoe, and the placement is absolutely perfect.  

online manual


Results. After shooting three rolls of film with the DOOMO D light meter, I feel very confident in its metering accuracy.  It's made me use my M2 more often, and at only a hair over 2 ounces in weight, it's not even noticeable as an add-on.  The metering is easy - press the black button on the rear to activate the meter, and adjust accordingly for your exposure.  The meter has a 30° angle of view for the sensing, and that seems to work quite well.  The advertised battery life is 60 hours of continuous use, and that's a lot of shooting.  I recommend having a spare, just in case. You can get a package of 10 CR-1632 3V cells on Amazon for less than $6. That's the price of one at the hardware store.

underside of meter. The battery compartment is
securely closed with a screw.


Overall, I found the DOOMO D light meter to be just what I wanted - simple, accurate, stylish, and well-made.  For me, it's a perfect fit for my Leica, and I highly recommend it if you want an analog-style meter.   It's available directly from Cameractive as well as Doomo and some eBay sellers.  Also, take a look at the Doomo Instagram account, as well.  At a price of $125, I think it's very affordable and probably the least expensive accessory for your Leica that you will ever find. I thank Zhang at Cameractive for contacting me and sending the meter to review.  

rear view of the DOOMO D meter


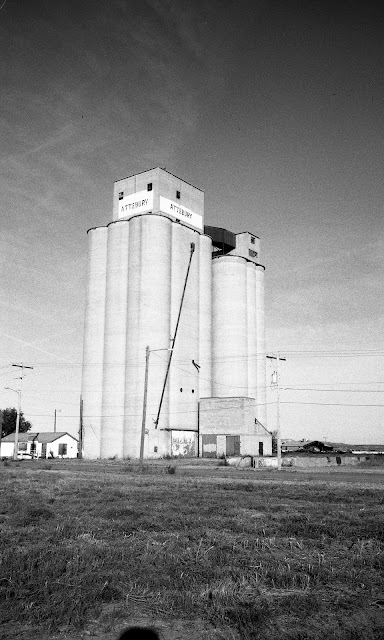
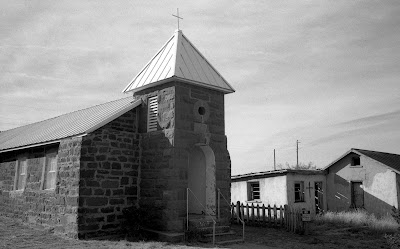
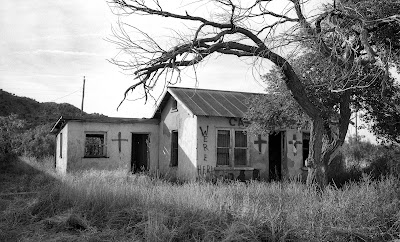
Some images from the M2 with Ultrafine Extreme 400 film, using the DOOMO D meter


More images from my October 2021 trip to the Southwest US.  The Leica and DOOMO D meter make a great pair.

Tucumcari, NM, FPP Frankenstein 200 film

Cuervo, NM, FPP Frankenstein 200 film  

Cuervo, NM, FPP Frankenstein 200 film

Lordsburg, NM, Fomapan 100

Gila National Forest, NM, Fomapan 100

Gates Pass Rd., Tucson, AZ,  Fomapan 100