Sunday, November 22, 2020

The Chinon CS SLR - Ordinary, But Good


If you have been reading my posts over the last 16 years, you’ll probably see a pattern of my fondness for M-42 (Praktica, Screw Mount, Pentax screw-mount, etc.) cameras.  A lot of them were manufactured by many companies in the 1960s and 70s, and they ultimately died out as the Pentax K-mount supplanted it. The biggest drawback against the M-42 mount was that it took time to attach a lens, and the mount did not lend itself to electronic contacts or more complex automation of the cameras. However, since so many M-42 camera bodies and lenses were produced, the prices tend to stay lower, compared to K-mount cameras as well as the offerings from Nikon, Canon, Olympus, and Minolta. While Pentax Spotmatics are what people usually associate with the M-42 mount, there are other cameras that used the mount, and many of them are quite good, if not especially innovative. Such is the case with the Chinon CS.

Chinon is a Japanese company that started in the city of Chino in 1948. Initially, the company produced only parts for lenses, but by 1956, it released a lens for 8mm movie cameras, followed by the world’s first 8mm zoom lens. Subsequently, they manufactured 8mm movie cameras, and the company at the time was known as Sanshin Optical Industrial Ltd.  The company started making 35mm cameras in 1971, and in 1973, changed its name to Chinon Industries. Chinon manufactured M-42 mount SLRs which were re-branded for other companies, such as Argus, GAF, Photo-Quelle, and Prinz. The Chinonflex TTL was introduced in 1966, followed by the Chinonflex in 1969. The Chinon CS appeared in 1978, and it features:

    • TTL match-needle metering - CdS cell, center-weighted, stop-down, center-needle indicator in viewfinder.

    • shutter speeds 1 sec - 1/1000 sec, + B.

    • Depth of Field Preview

    • Copal Square vertically-traveling metal shutter

    • X-sync hot shoe as well as PC sockets for external flash, x-sync at 1/125 sec

    • ISO range of 25-800

    • 15 sec. Self-timer

    • M-42 mount

    • power - PX625 1.3V Mercury cell

Pretty standard layout, easy to use!

Simplicity is a creative asset.

So, while there is nothing that really stands out in the camera, everything is there that you need to take photos with full control of the exposure.  The only wrinkle is that like almost every other camera manufactured at the time, it requires a PX625 mercury cell for the meter.  In other words it’s a fairly ordinary, but well-built 35mm M-42 mount SLR. It doesn’t have the name recognition of Pentax or Praktica, but it can hold its own with any M-42 camera body made by anyone else at the time. I can say that had I owned this camera in 1978, I would have been won over very easily to its attributes, seeing that I owned an Exa 2a at the time. 

I picked this particular Chinon CS body up on eBay for $30, and I already had a matching Chinon 55 mm f/1.7 lens waiting for it. I used a PX625A alkaline cell, and then realized that to get a meter reading correct, I needed to dial down the ISO to one stop. So, for example, I was using ISO 400 film, I set the ASA (ISO) dial to 200, thereby compensating for the over-voltage of the cell.

I loaded a roll of Holga 400 film (i.e., Foma 400), and took the Chinon CS out on some local trips to test it out.  The camera handles well; after all, it is "ordinary" and the stop-down metering button on the right side of the lens mount returns to its off position after the shutter is released.  The metering is center-weighted, and I had no issues with this 42 year-old SLR. The shutter has a satisfying "clunk" that is typical for the Copal Square shutters. 

I think that this camera encompasses the status quo in mid-1970s 35mm SLRs.  Nothing plastic, everything manual, and sturdily built. You can easily build your camera kit with cameras like this, as M-42 lenses are generally plentiful and relatively inexpensive, and mostly primes.  There are many other Chinon SLR models besides the CS, and a switchover to K-mount lenses occurred around 1981.  You can get an idea of the various models on the Camera-Wiki site. 

Some sample shots from the first roll:


Monday, November 16, 2020

Golden Oldies: Pre-Set Lenses and T-mounts

Over the many years that I have been dealing with camera equipment, it seems that the least desirable (from a selling point) have been pre-set lenses and lenses that have a T-mount.  First of all, let me tell you what I am talking about here.  

Two pre-set T-mount lenses, M42 mount

When you photograph, you set your aperture on the lens and/or adjust your shutter speed until you get the light meter indicator to where it suggests the correct exposure. That’s pretty much how it works with any camera, including digital, unless you have it in complete auto mode, and the camera makes those decisions for you. If you are using an SLR, everything looks the same to you through the viewfinder, unless you push a button or lever to observe the depth of field, which stops down the lens to the chosen aperture. We do it so automatically, that it’s easy to not think about what is actually happening inside the camera.  That’s called open-aperture metering, and even though the lens is wide-open the mechanical or electronic linkages relay all that information to the metering system. When the shutter is fired, the lens then stops down to the selected aperture (assuming that you are not shooting wide-open, of course). It’s been with us since 1963, and adopted by most camera manufacturers by 1971. While cameras have evolved to do just about anything via some electronic adjustment, the basic system of aperture/shutter control is really all you need to control the exposure of an image.

Aperture pin, (indicated by red circle) on a M42 lens

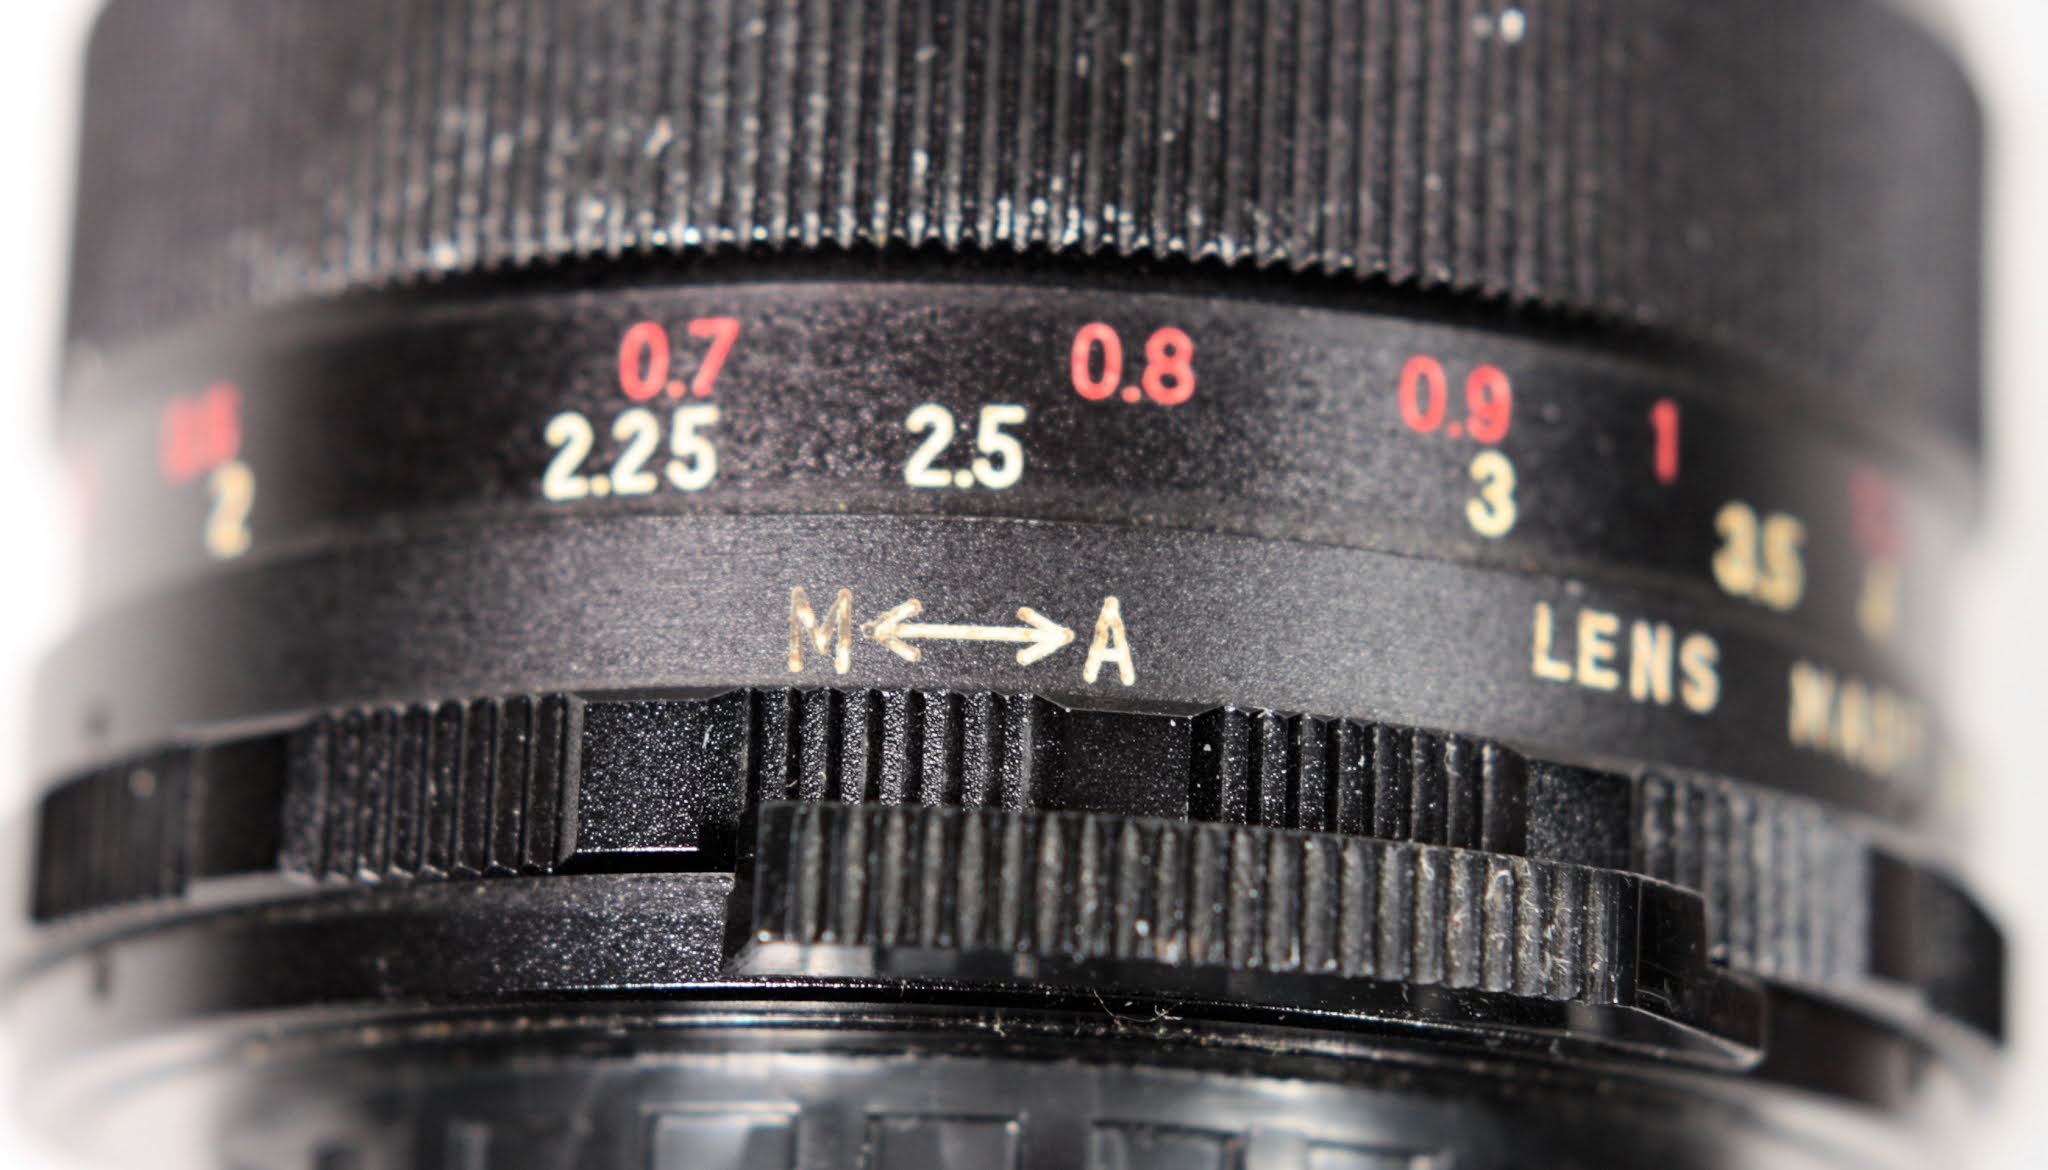
Before the days of open-aperture metering, we had stop-down metering, which means that you set your aperture and pushed a button or lever on the camera to actuate the diaphragm and the light meter.  The problem with that system is that the smaller the aperture, the dimmer the image, making focusing more difficult. If you have used a Pentax Spotmatic, Canon FT QL, Praktica, Zenit, Minolta SR, and any number of M-42 mount cameras, it’s likely that you have used stop-down metering. It’s why many lenses in the early days have an M and an A at the base of the lens. M=Manual, and the aperture is wherever you set it at all times, and the A = Automatic, meaning the aperture changes from wide open to the selected aperture when the shutter is released. Often such lenses have the word "Auto" on them, at least before it became standard on all cameras and lenses.


Three different lenses with A and M control

To actuate the diaphragm in the lens, there needs to be a small pin at the base that is pressed against by an arm or movable plate inside the camera at the moment the shutter button is pressed. Usually, that lever is in front of the mirror. It’s not needed for rangefinder cameras, or twin-lens reflex cameras, because you are not looking directly through the taking lens to focus and compose.  However, on an SLR, you want to have the view as bright as possible, so the lens only stops down when the shutter is released.  

Pre-set T-mount lens has no aperture pin


But wait, what if there is no aperture actuator in the camera or on the lens?  You could still do the manual route and suffer with the dimmer image at smaller apertures, or you could use a pre-set lens. Pre-set lenses have two rings for setting the aperture(usually towards the front of the lens, not at the base). The foremost ring sets your final aperture, and the following ring closes the aperture when you are ready to shoot.  You can view your subject at the full aperture of your lens, and since your shooting aperture is been pre-set, you just close the second ring to shoot. I’ll tell you more about this later on why this is a good thing today. 

Simplified system - shooting aperture at top and
C to close down, O to open up


Final aperture set at f/22, but open to view at f/2.8

Final aperture at f/22
135mm Spiratone lens


T-mount on lens, adapter at right

Now, obviously, the pre-set system is rarely used on modern lenses, but back in the 1950s and 60s, it was pretty common.  It was also used a lot on T-mount lenses, which are third-party lenses made by a variety of manufacturers into the 1970s. The T-mount is a 42mm thread which has a different pitch than the M-42 mount that it is sometimes confused with.  The usual T-mount is a screw mount using a male 42×0.75 (42 mm diameter, 0.75 mm thread pitch) metric thread on the lens with a flange focal distance of 55 mm and a mating female 42mm thread on a camera adapter or other optical component.  The T mount is a mechanical-only mount, meaning it does nothing beyond physically connect the lens to the camera. It does not transfer electrical signals, auto-focus information, or aperture settings. So, the beauty of the T-mount is that you can use one lens with different SLR camera mounts, so long as you have the right T-mount adapter.  The other part of this is that you don’t have to worry about the linkage to an aperture pin, because there isn’t any.  The image below shows a Spiratone 135mm f/3.5 T-mount lens that I have used on M-42, Pentax K, Nikon F, Konica, Leica R, and Minolta SR/MD mount cameras.  You may ask why I would bother.  The aperture in this lens is completely circular due to the many-bladed diaphragm, and it gives very pleasing image. I have used it on digital SLRs, as well.  Since it’s also a pre-set lens. I can easily focus and stop the lens down to any aperture, not pre-determined click stops. 

T-mount lens with a variety of adapters

So, here we are with some lenses from a time when NOTHING was automatic, yet they can still be used today, with the proper adapter, on your film SLR or your DSLR or mirrorless camera.  The beauty of the pre-set lens becomes more apparent when you see the image on your LCD, and adjust the aperture to get exactly what you want in the image.  Since there are no electronic connections, you may have to do all the exposures in Manual mode with some cameras, and Aperture-Priority in others.

I should add that not all T-mount lenses are vintage. Some T-mounts date from the 1980s, and are often seen on mirror telephoto lenses, oddball art lenses, slide copying units, and telescope and microscope adapters. You can also buy new 500mm telephoto lenses that use the T-mount, AND have pre-set apertures. So, the T-mount and pre-set lenses have never really gone away after all these years. The beauty is that you can usually pick up a used T-mount lens or a pre-set lens quite cheaply, and the only factor will be if you can find a T-mount adapter for your SLR. T-mount adapters are easily found for M-42 Pentax screw mount, Pentax K-mount, Nikon F-mount, Olympus OM, Minolta SR, and Canon FL. I think I have seen most pre-set lenses/T-mounts for M-42, as it was a very popular mount before the mid-1970s.


Saturday, November 14, 2020

Rollei RPX 100, One-roll Review

I had hoped to have shot and developed this film before I posted my list of 100 ISO b&w films here on RCB back in September.  Anyhow, the roll sat in my Nikon FM3a for over a month before I finished with it, and last week I finally got around to developing it.  I have read good things about the Rollei RPX films, and I know a few photographers that really, really, like them.  Of course, as I wrote here previously, “RPX 100 may be the "same" as the old APX 100, but Rollei of course, does not make film, and neither does Maco, who bought the rights to use the Rollei branding. What's the film's origin? I really don't have an answer to that question. It is purported to have extended red sensitivity, and is available in 35mm and 120.”  After shooting a roll, and developing in Rodinal, I can say that it definitely is not the old APX 100.  Of course, neither is the new APX 100!  But does it matter what the film’s origins are?  The results I got from the RPX 100 are very good, with a nice range of tones and imperceptible grain. It has excellent latitude, and while I did not test it for extended red sensitivity, others have done so with good results. I did use a yellow filter and or a polarizer on some landscape shots during sunny days.

I really appreciate that there are developing instruction printed inside the box of film. Even though the Massive Development Chart has the same information, there is something that just feels right about having it printed.  That’s just my “old man” attitude.  If we are going analog, might as well have analog information, too.  

I loaded my Nikon FM3a (Nikon deserves every accolade given for making this camera, and damn, they should still be manufacturing them.) with the RPX 100 when I was at the Biltmore Estate on August 13. I have more than one Nikon SLR, so I wasn’t always shooting with the FM3a.  I finished the roll on September 30, while visiting the Blue Ridge parkway on a bright, sunny day.  In between, there are shots from around home, Asheville, and Mars Hill, NC. While I mostly used the 50 mm f/1.8 Nikkor, I did use a telephoto while on the Blue Ridge Parkway.

Developing – I developed the RPX 100 in Rodinal 1:25 dilution for 9 minutes.  When I poured out the developer, it did not have that nice purple color that I used to get with the original APX 100. The film dries nice and flat and is easy to scan. I scanned the negatives with my Epson V700 photo scanner.

Here are a few examples from the roll. 


Overall, I am really pleased with this film.  Price-wise, it’s not all that expensive. It’s cheaper than TMax100, but more expensive than Fomapan 100 and Kentmere 100, two of my favorite ISO 100 films. You can also buy it in bulk 100 ft rolls to spool yourself.  The mere fact that it is also available in 120, should give you a reason to try a roll or two!

Saturday, October 31, 2020

Kodak Brownie Reflex 20

I have been fairly quiet on the blogging front, as I have been preoccupied with getting another 'zine ready. Monochrome Mania #3 is ready to go to print, and it just happens that I left out one camera from my selection of lo-fi cameras in the issue. I ended up buying a bunch of 620 cameras while preparing the material for the next issue of Monochrome Mania. Some of them were models that that I had owned at one time, over a decade ago. I wanted to be be able to photograph them all, as well as run a roll or two of film to see the results with a more nuanced eye than I would have had back then.  One thing I noticed right away, is that while some manufacturers kept putting the same camera out for years with nothing more than cosmetic changes (i.e., the Spartus Full-Vue), others, such as Kodak took a basic design and changed it up a bit, and gave it a different name with each iteration.  Such is the case with the Brownie Reflex 20.  I previously wrote a post about the Kodak Brownie Twin 20, which I found to be easy to use, and produced satisfactory results. The Brownie Reflex 20 is pretty much the same camera, but with only a nice bright waist-level reflex viewfinder. This faux-TLR features the same EV aperture selection, one shutter speed, and body shape and controls as the Twin 20.  The brilliant viewfinder is easy to use, and I think makes it a better "user" than the Twin 20.  


If you are out and about in the eBay Universe, or maybe your local thrift store, you should also take a look at the Kodak Brownie Flash 20 or the Brownie Flashmite 20. Again, these models have identical controls as the Twin 20 and reflex 20 cameras, but incorporate an eye-level viewfinder and a built-in flash, with the Flashmite 20 using a small AG-1 flashbulb, and the Flash 20 using an M8 bulb. The keyword in looking for these cameras is the "20" designation, which means they use 620 film.  Of course, you can respool 120 to 620 spools giving you a broader selection of film. The EV markings are equivalent to f/11, f/16, and f/22, all at about 1/100 sec.  I found that I could use the same 33mm Series VI filter adapter that I used on the Twin 20, so I presume that holds true for the other two models mentioned here.  These cameras are not to be confused with the smaller Kodak 127 cameras that look similar, such as the Starflex, Starmite, Starflash, or Startech.  

Using the Reflex 20 was the same as the Twin 20, except for the fact that the brilliant reflex viewfinder made composition easier and goes well with the placement of the shutter button.  

I loaded some respooled Tmax 100 that was about 20 years expired, and developed in in HC110B for 6 minutes. Results were excellent!  The Tmax 100 had been refrigerated for most of its life, and is a perfect film for these cameras.  I basically shot most of the 12 exposures walking around the Vance monument in Asheville, NC. 

Overall, I'd say this this is my favorite Brownie-labeled camera, a notch up from the Brownie Hawkeye, with better ergonomics and some means of exposure control and zone-focus.  The Brownie - 20 series cameras were made from 1959 to mid-1960s,and I feel that the Reflex 20 is the best of the bunch. All four models take 6x6 cm negatives on 620, have the same zone-focus and EV aperture settings, but the Reflex 20 has the best viewfinder and a separate flash unit that most people will never use, anyway.  Drop in some 100 ISO film and you are ready to go.

Here are a few images.  Those lenses are actually quite good, in comparison with a Holga or Diana.


Friday, October 02, 2020

Holga Week 2020


While I confess that I don't really pay much attention to camera-themed events (with the exception of World Wide Pinhole Photography Day), Holga Week strikes me as a good opportunity to let the Holga love out. 

I know, today is October 2, and Holga Week runs from Oct. 1-7.  I've been working on issue 3 of Monochrome Mania, and it's totally focused on medium-format toy cameras...like the Holga.   Last night I was going through sheet after sheet of negatives from my Holgas - and realized that I have almost 1000 images with them.  Probably more than most people, so for me, a week isn't really a thing.  Years, more like it - almost 20 years of Holgas.  Of course I'll do some shots this week, because I would, anyway.  However, I am always happy to see toy cameras get some love and attention, whether it's World Toy Camera Day, Diana Day, or Holga Week, it's all good.  People need to understand that these plastic cameras are not just some bit of fun to get picked up now and then, but also that they are creative tools that let us show things in a different way.  If images from Michael Kenna can't convince you that a Holga is a very special camera, then I guess nothing will.  


I don't think that $40 for a Holga is outlandish.  I have every Holga I bought, and almost 20 years later, my first Holga still works fine.  Simply plastic fantastic, with a simplicity that will allow you to be creative.  So, if you are on the fence about buying a Holga or using one, give it a try. It's still my favorite low-fi camera for a lot of reasons, and I own a half-dozen of the 120 models. I have owned the Holga 120 wide pinhole, and still have the Holga 135 Panoramic and Holga 135.  Their plastic construction and plastic lens is part of the charm. Yet, the images made with them can be jaw-dropping beautiful.  

The Holga 120N is easily modified, and a quick web search will reveal a lot of ways that it's been modified by people. Last year, I modified one my Holgas to have a hexagonal image mask.  I am doing a long-term project with it, and hope to have some interesting results.  A lot of people have asked if the Holga is a good introduction to medium format photography.  My answer is no.  Your expectation of medium format is a larger, more detailed negative -- and you'll get that with a twin-lens reflex as the entry to medium format.  The Holga and the Diana and similar low-fi 120 cameras will give you something, but you need to know the limitations and make them work for you in composition, lighting, and subject. 

Another point is that because the Holga has limited adjustments for exposure, you can easily tape a colored orange, yellow, or red gel over the lens to compensate in b&w film, or use a neutral density filter for color (and yes, it works for b&w, too).   You can also use an external flash for poorly lit situations, or use the B setting while on a sturdy tripod for long exposures.  An adapter allows you to use studio strobes for anyone wishing to do so.  You can add a thread mount filter ring to the front of your Holga by firmly screwing in a 46mm to 49mm adapter ring, allowing you to use 49mm filters.

The Holga 120N takes readily available 120 film.  In bright daylight, 100 ISO film is fine, but 400 ISO film will be fine in almost any situation.  If you haven't used a Holga before, don't sweat it.  Before long, you'll appreciate its quirky features, and think less about the use, and more about the image.  Light leaks?  I just use artist's black masking tape or gaffer tape.  My biggest fear is that the back will come loose, so I use gaffer tape over the metal clasp on each side to avoid that. That's pretty much the only weakness of this plastic fantastic icon of the toy camera world.

And now, for some images from over the years from my Holga cameras: